Direct Answer
Annealing gives stress in hot glass time to relax and controls how the part cools through the temperature range where new stress can become locked in. For formed lighting glass, the critical regions often include changes in section such as a flange, shoulder or mounting neck. An annealing review connects the glass grade and geometry to the cooling process and to the agreed check on the finished component.
How does stress develop as formed glass cools?
Hot glass contracts as it cools. If the surface and interior cool at different rates, each region tends to contract by a different amount while the regions remain joined. This creates internal stress. The same principle applies where a thin wall meets a heavier section and the two parts of the shape lose heat at different rates. A useful starting point is a section drawing that identifies the regions likely to cool differently, alongside the material and the process that produced the shape. See the Lehigh University course lecture on annealing and tempering.
At sufficiently high temperature, glass can relax stress over the time available in production. As it cools and becomes more viscous, relaxation takes longer. A temperature difference that persists through this change can leave a stress distribution in the part after it reaches a uniform temperature. This remaining stress is called residual stress. A transient stress arises while a temperature difference exists and can diminish as temperatures equalize. The finished part can carry residual stress and later experience a transient stress during further heating or cooling. See SCHOTT's technical note on stress in optical glass.
For example, a shade wall and its mounting feature may reach the cooling stage with different temperature histories. A tool may also contact one region for longer than another. The part’s outer diameter and visible finish describe only part of that situation. Record where the wall changes shape or meets the mounting feature, and use those locations when comparing samples. The overview of lighting glass forming routes explains how pressing and blowing establish the part before downstream operations such as annealing.
The stage at which an issue appears matters. A part can experience temporary thermal stress during transfer or cooling, while an observation on the uniformly cooled, unmounted part concerns the state left after processing. Record when the issue occurred and which part of the shape was involved. If the same region repeatedly cools differently, investigate how that region is exposed, supported or handled. A final sample record and an observation during production describe different points in the history of the component and can guide different checks.
What happens in a glass annealing cycle?
Bring the part into a condition where stress can relax
The Corning Museum of Glass definition of annealing describes the controlled cooling of a completed glass object in a furnace. In process terms, the part must have an opportunity for stress to relax while it is still hot enough. The relevant question is how the temperature is distributed through the glass at that stage. A freshly formed part can enter the next operation while hot, or a suitable part can be brought to the required condition in a separate thermal cycle. Review the actual start state and process for the component.
An annealing lehr is a kiln used in production to provide a controlled temperature history, often as parts pass through successive zones. Other arrangements may process a batch in a furnace. In a continuous line, the conditions experienced by a piece depend on its progress through the zones and how it exchanges heat with its surroundings. For a sample review, record the process revision or batch reference and the part geometry it covers. The name of the equipment is useful context alongside the history of the glass itself.
Keep the oven record and the component evidence together. The indicated temperature of a zone describes the equipment condition at the measurement point. The temperature history within the part also depends on its section, its position and the way the load is arranged. A change in how parts are supported or spaced can warrant a review of which samples represent the trial. For a drawing approval, connect the recorded operating condition to a representative sample and the finished result required by the project.
Control the passage through the annealing range
Once the glass can relax stress on a practical time scale, the cycle gives different regions an opportunity to approach a more even temperature. Controlled cooling through the relevant range then limits the temperature differences that develop as relaxation slows. The annealing point and strain point are characteristic temperatures for a particular glass under defined test conditions. They help describe the range in which stress relaxation changes substantially on a manufacturing time scale. ASTM C598-24 describes a beam-bending method for determining those points.
These material references are inputs to a process review. The component drawing provides the other part of the problem, including the wall, base, mounting geometry and any local changes in section. A lower-temperature part of the cycle completes the cooling as stress relaxation becomes very slow. Temperature differences can still cause temporary stress during that stage. After equalization, assess the remaining stress or agreed evidence in the specified state. Comparing two products requires knowing their glass grade, relevant geometry and the thermal history represented by the samples.
| Stage | Process purpose | Evidence to connect to the part |
|---|---|---|
| Entry or reheat | Bring the glass to a condition suitable for stress relaxation. | Material, drawing revision and entry condition. |
| Equalize and relax | Give regions of the part time to approach a more even temperature. | Relevant wall, base and mounting sections. |
| Controlled passage | Limit temperature differences as stress relaxation slows. | Process revision or trial record and representative sample. |
| Final cooling | Complete cooling while managing temporary gradients. | Support, handling and the agreed inspection state. |
| Finished-part review | Assess the residual-stress criterion where required. | Location, method, orientation and result. |
See the annealing stage in production
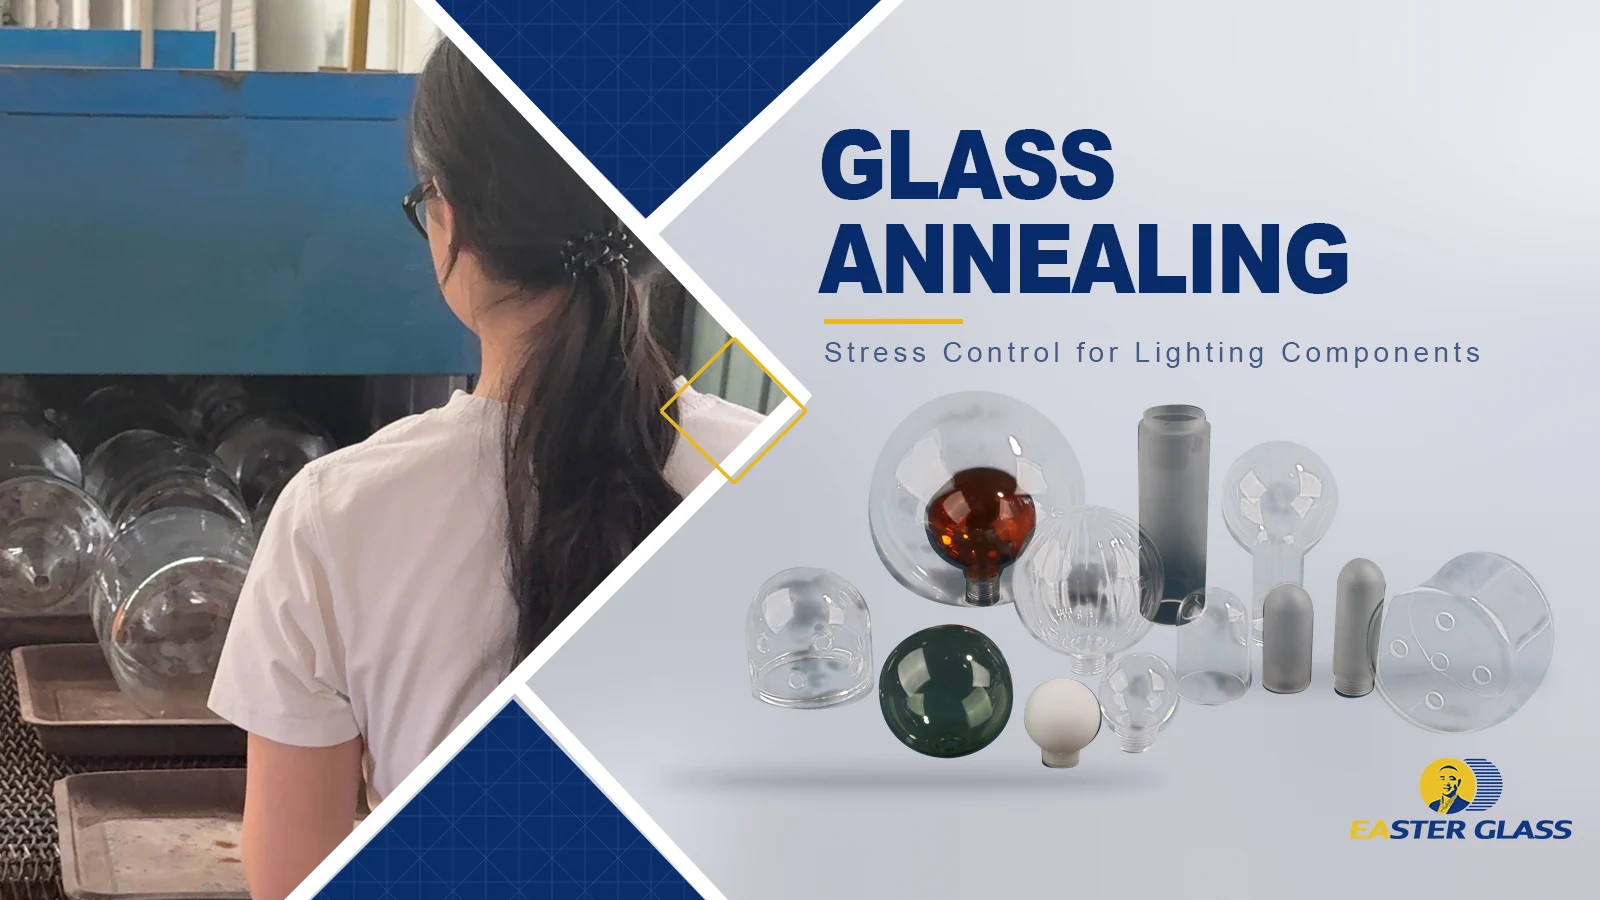
The Easter Glass production video shows the borosilicate glass annealing stage. Use it to place the thermal operation between forming and finished-part review. The process details and the acceptance criteria for a particular shade, cover or lens belong in its project record. For the review team, the useful question is which sample was taken after which operations and whether that sample represents the configuration being approved.
How does geometry change the annealing review?
A domed cover with a perimeter flange
The clear borosilicate dome with a circular seating flange illustrates a curved body and a defined mounting region. In a drawing review with a manufacturer of flanged borosilicate glass domes for enclosed luminaires, show the sections through both the body and the flange. Mark the transition and the surface that locates the cover in the assembly. If the flange and dome have different sections, treat their cooling history and their suitability for stress observation as separate review questions.
Two covers with a similar outer envelope may differ in the region that controls cooling or in how the mounting load is applied. A review of the finished shape should cover the inside and outside profiles where they matter, rather than relying on the visible outline of the cover. Use the Borosilicate Glass collection of covers and formed shades as material-family context. For a particular part, confirm the exact glass specification and the drawing revision associated with the annealing evidence.
A frosted shade with a threaded opening
A frosted borosilicate capsule shade with a threaded opening illustrates a body, an attachment feature and a visible finish. When a supplier of frosted borosilicate capsule shades with threaded openings provides samples, identify which observations were made on the clear formed piece, if available, and which were made on the finished part. Some viewing methods work differently after a finish changes how light passes through the glass. Link any earlier observations to the production stage and the finished sample they represent.
The thread and the body also have different acceptance tasks. The thread must meet the agreed mating geometry. The visible body must meet the applicable appearance requirement. If an operation after the initial check adds heat, changes the seating geometry or can affect the inspected region, decide what evidence is needed in the final state. The comparison of mouth-blown and machine-blown lighting glass gives related examples of why sample condition and local geometry matter when comparing formed parts.
An optical lens with a stepped mounting neck
The domed optical glass lens with a stepped mounting neck shows how a curved optical face can meet a separate location feature. When working with a factory annealing domed optical glass lenses with stepped mounting necks, agree where an observation is to be taken, how the lens is oriented and which regions must be assessed separately. A photograph of the whole lens may record its appearance without identifying the optical path or the relationship between a visible indication and the mounting shoulder.
Use the section drawing to connect the central optical area, the shoulder and the mounting surface to the finished assembly. For a component that uses both a functional face and a mounting step, define a stress-related observation separately from checks for profile, fit and optical function. The Optical Glass collection of lenses and light-control components provides other examples of functional optical faces and part geometries. The project specification determines which inspections apply to each component.
On a lens drawing, mark the zone through which the observation will be made and the reference used to locate it. A central view through the lens and a view across a curved shoulder can follow different paths through the glass. If the project compares readings or images between samples, preserve that geometry and direction in the record. This makes it possible to assess whether a change appears at the same position on the part or follows a change in the way it was viewed.
How do annealing, tempering and stress inspection differ?
Each process has a different objective
Annealing seeks to reduce residual stress from the thermal history of the glass. Thermal tempering deliberately develops a stress distribution by controlled rapid cooling. A conventional thermally tempered flat section has compression near its surfaces balanced by tension in its interior. This objective differs from the low residual stress sought in annealing. For a lighting assembly, define the required glass condition and the test evidence for the intended application. The annealing and tempering lecture describes the different cooling objectives using container and flat glass examples.
A stress observation needs a defined method
In suitable transparent regions, a polariscope can make stress-related optical effects visible. The observation depends on the glass composition, the light path through the part and the stress distribution along that path. Curvature, viewing direction and finish can change what can be observed at a given location. An inspection plan needs a defined region, viewing setup, reporting method and acceptance criterion. For a published example of the role of optical path and glass composition, see the scope of ASTM C148 for glass containers.
Choose the inspection method for the drawing and sample condition. For a qualitative screen, record the orientation and the agreed comparison sample where applicable. A quantitative requirement calls for an appropriate calibrated method and a defined measurement location. A test for mounting, optical performance or service temperature answers a separate product question. Organizing these requirements separately helps the review team trace an observation to the process step or product feature it actually represents.
For example, an acceptance note can name the inspection region on a drawing and specify whether the record is a visual comparison or a measurement. The outcome then has a defined scope. If service qualification also calls for a thermal test, use the specified assembly and conditions for that test. Keep the annealing review and application result in the same project file so that the people approving the glass can see which evidence supports each requirement and which sample was used.
What should a first-article review record?
Define the sample and viewing condition
Start with a drawing revision, glass specification and part identifier. Mark the locations where the process or inspection may need special attention, such as a shoulder, a rim, an opening or the junction between a body and a flange. Record whether the sample is as formed, annealed, ground, frosted or assembled, as applicable. For made-to-drawing borosilicate cover prototypes, include the mating drawing or holder so the team can relate the locations to the installed part. The Easter Glass quality page on inspection criteria and approval samples sets out the project context for that review.
Worked example of an indication near a mounting shoulder
Consider two clear glass covers built to the same drawing. A stress-related indication appears near a shoulder in one sample. First compare unmounted parts at the same orientation and view the same regions of each part. Confirm whether the indication follows a feature on the drawing, appears in other parts from the same process revision or changes with the viewing direction. If the concern only arises after seating the cover, record that mounting condition and assess the contact and fit as separate observations. The record should distinguish the sample state and the inspection setup before a process adjustment is considered.
Suppose the difference recurs in the same area. Check whether the trial parts share the same material, thickness transition, support condition and position in the cooling process. Preserve the sample IDs and the corresponding inspection images or readings. Then compare the proposed process change with a new representative trial using the same acceptance method. This links a change in the observed result to evidence the project team can review, while leaving the exact thermal cycle to the process qualified for that glass and shape.
For an OEM annealing review of custom glass lighting covers, place the thermal process question and the final product question on the same review sheet. The process record identifies the part and the controlled cooling stage. The final sample record describes any residual-stress observation and the separate fit or functional checks that apply. If the design changes a neck, wall or flange, identify which observations need to be repeated on the revised part. Share the drawing and the intended evidence during the Easter Glass OEM and ODM development review.
After the first article is approved, retain the basis for that decision. An inspection image is easier to use in a later review if the drawing, sample condition, view and acceptance criterion can be reconstructed. A change to the part or its route can then be checked against the original evidence. Compare the relevant locations on samples made under the revised conditions and document the result. This gives repeat production a practical reference when material, shape, loading or a finishing operation changes.
Technical Takeaway
Treat annealing as a controlled thermal process for the actual part. Identify regions that can cool differently, record the glass and the state of the sample, and agree how residual stress will be assessed where relevant. Keep the observed result linked to the same drawing and process revision. Use separate evidence for assembly fit and product performance so that each approval answers a defined engineering question.
Frequently Asked Questions
What is annealing in glass manufacturing?
Annealing is controlled thermal treatment that allows stress in hot glass to relax and limits the residual stress left after cooling. The glass grade and the shape of the part affect the relevant thermal history. The finished sample and agreed inspection provide the project evidence.
Why does uneven cooling matter after forming?
Different regions of the part can cool and contract at different rates. This generates stress while temperature differences exist. If the glass loses its ability to relax that stress on the process time scale, residual stress can remain after the temperature becomes uniform.
What is the difference between temporary and residual stress?
Temporary thermal stress is associated with a current temperature gradient and can diminish when the glass equalizes. Residual stress remains after that gradient has disappeared. A part can have residual stress from forming and cooling and experience additional temporary stress during later use.
How can remaining stress be checked?
A defined polariscopic observation can help screen suitable transparent regions. A quantitative requirement needs a suitable method, setup and criterion. Identify the glass, sample stage, location and orientation so the result can be interpreted and compared with subsequent samples.
Review Annealing Evidence for Your Lighting Glass Part
Share the part drawing, specified glass and mounting geometry. Include the regions to review, the sample condition and any agreed residual-stress or functional criteria so the project team can identify the evidence needed for approval.
Share Your Part Drawing and Annealing Requirements
Technical note. The diagrams illustrate general thermal and inspection concepts. The production video shows a borosilicate annealing example. Confirm the thermal cycle, inspection method and acceptance criteria for the specific glass and component.
 English